Darren Brooker introduces the second installment of his four-part comparison of the interior lighting methods available within 3ds Max, taking us through Global Illumination with mental ray.
To read the first half of this tutorial, click here
In the last issue of AEC Magazine we kicked off our look at the various interior lighting tools available within 3ds max by looking at radiosity, which is a Global Illumination (GI) algorithm. Of the other GI algorithms, photon mapping is the technique used by 3ds MaxÝs alternative renderer, mental ray, which is where weÝll pick up this month.
Mental ray is a production-proven renderer whose implementation within 3ds Max has in the past suffered from a lack of documentation and licensing restrictions. For these reasons, lots of Max users have given it a wide berth, but for complex lighting effects itÝs tremendously powerful. Not only can it do everything thatÝs possible with the radiosity renderer, it can also go a stage further by addressing GI techniques such as caustics that the scanline cannot address without employing creative fakes. Furthermore, it is the only way within 3ds Max to generate ambient occlusion information.
” Mental ray is a production-proven renderer whose implementation within 3ds Max has in the past suffered from a lack of documentation and licensing restrictions, but for complex lighting effects itÝs tremendously powerful. “
In the same way that we looked at the workflow for radiosity rendering last month, weÝll first take a look at how GI calculations are processed by 3ds Max when using mental ray, which is a pretty straightforward process. The first thing that we need to do is to allocate mental ray as the renderer, which is done from the Render Scene dialog, accessed by hitting F10. Now, at the bottom of the Common tab is the Assign Renderer rollout, where you should choose mental ray as the Production renderer.
Once youÝve done this, the tabs within this dialog will change to reflect the new renderer. Open the 02mentalRay.max file and go to the Indirect Illumination tab. You can see that there are only two rollouts within the tab, and apart from the sampling settings within the Renderer tab that can be thought of as the equivalent of the scanlineÝs antialiasing settings, this is all you need to setup Global Illumination rendering with mental ray. First of all, enable GI in the Caustics and Global Illumination rollout. Leaving everything at its default setting, hit Render and you should be able to see from your results, that you have a GI rendering, albeit a very rough and ready one.
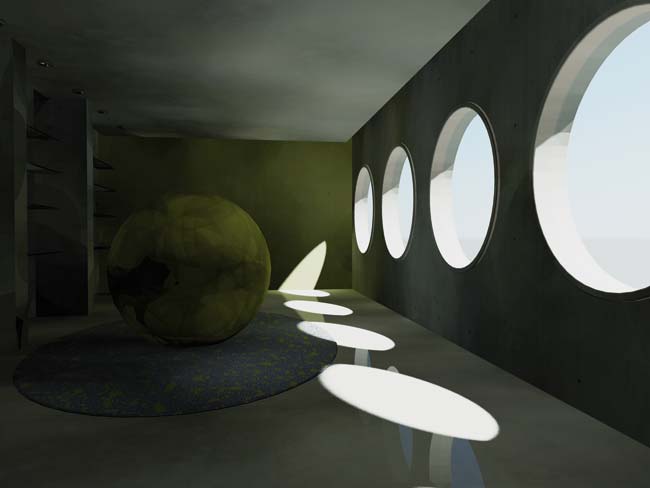
Like the example in the last issue, youÝll need to use the Exposure Control to compensate for the dynamic range of radiosity rendering. Hit the Setup button further down the same rollout and choose Logarithmic Exposure Control. If you render now, youÝll see that the exposure looks correct, but that there are noise and sampling issues, as you can see in Figure 1. This is dealt with within the Final Gather rollout.

Click the checkbox to enable Final Gather and hit Render again. This time youÝll see that the render takes a lot longer, which is because the regather stage is a comparatively render-intensive affair. However, the Final Gather map can be stored, which saves on processing it each time a render is completed. To do this, check the Read/Write File box within the Final Gather Map section of the Final Gather rollout. Once you are happy with your results, you then merely need to place a check in the Read Only box, and this Final Gather map will be used and not overwritten, which will speed your render up by an order of magnitude.

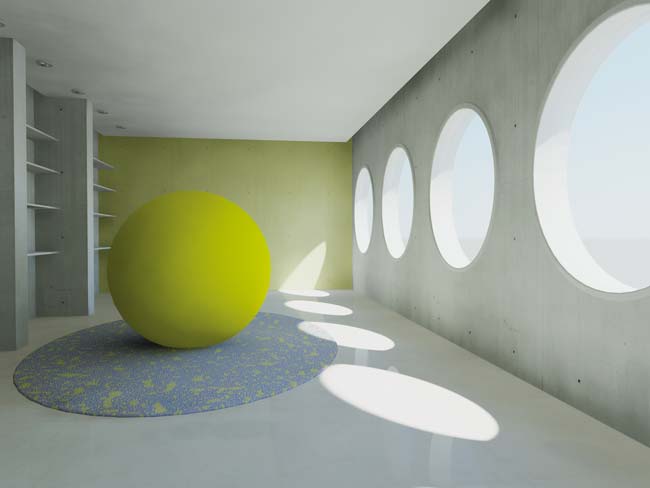
Once your rendering is complete, you should see something similar to Figure 2. You should also agree that itÝs pretty straightforward to get up and running with GI under mental ray. However, there are some subtle but important differences between this scene file and the one you used last month.
YouÝll see that this file is almost identical to the one we used last month to examine radiosity. There are a few subtle differences between these scenes; the first one is that the light in this scene is a Daylight system, which enables us to allocate a mental ray sun and skylight within one assembly. The light within last monthÝs scene file was an IES Sun light, which works with the scanline, but needed to be changed to best work with mental ray.
The second difference lies within the sceneÝs materials, which are all mental ray Architecture & Design shaders. This is noteworthy because there are some major differences in the way that raytraced reflections and refractions are calculated internally between the scanline and mental ray. Though mental ray works with the standard max raytrace map type, it actually uses it as a placeholder for its own techniques, so itÝs a better idea to work with these directly.
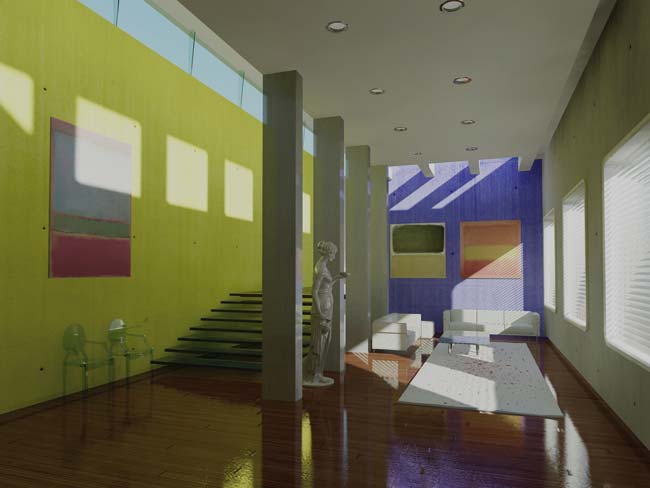
Your rendering is of a decent quality, but is by no means a final quality solution, as we have used the default settings across the board so far and havenÝt even touched the sampling settings. To help you understand how you should take these settings further you should open the 02mentalRayExample.max file, which is all set up to render at final render quality, just like our main image. Something you should take a close look at is the materials for this scene, which are all mental ray Arch & Design shaders, so differ from regular materials.

Generating ambient occlusion information with mental ray
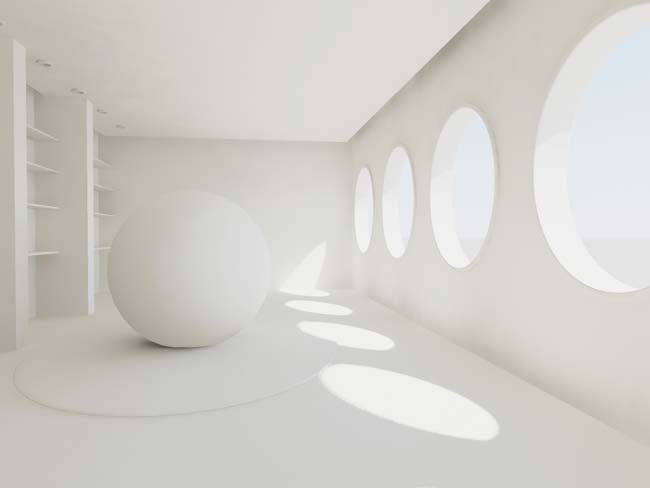
Ambient occlusion displays how much ambient light the various surfaces of a scene receive due to occlusion by their own forms. This produces areas of detail around contact points and corners, which can be rendered as a separate pass and used to add extra detail and realism to a composited image.
Generating this pass is easy, thanks to the Material Override feature. Open 02mentalRayAO.max and you should find this feature on the Processing tab of the Render Scene dialog, within the Translator Options rollout. Check the box marked Enable and drag the material called ambientOcclusionMRarch from the Material Editor to the adjacent swatch.
If you were continuing with the previous scene file, and youÝd previously specified a Final Gather map for reuse, youÝd have to either create another or uncheck the Read/Write File checkbox to ensure that you werenÝt reusing your previous Final Gather map, as this will change because of the new material being applied. Now, if you hit the Render button you should get something similar to the figure above. This pass is best used within a compositing application, where it should be composited on top of your beauty pass to give an extra level of detail and realism.
Things to note are that, like last issue, the interior lighting uses photometric lights, which use a pre-defined photometric web which many lighting manufacturers provide for their products. Just like radiosity, mental ray works with physical lighting, so making sure your units are correctly defined is important as the lighting simulations obey its physical laws. You can imagine that a three-metre high space will look quite different to a three kilometre high space when lit by the same light fittings.
Most of these tips were touched on last month when we covered radiosity, but theyÝre pretty fundamental when working with physical lighting so theyÝre worth reinforcing. Next month weÝll continue with three-point lighting.
To read the first part of this tutorial, click here
For the third part of this tutorial, click here
For the forth part of this tutorial, click here
Darren Brooker is a BAFTA award-winning lighting artist who has worked at many top UK studios. He works for Autodesk as a product specialist. His book, Essential CG Lighting Techniques with 3ds max, is published by Focal Press


